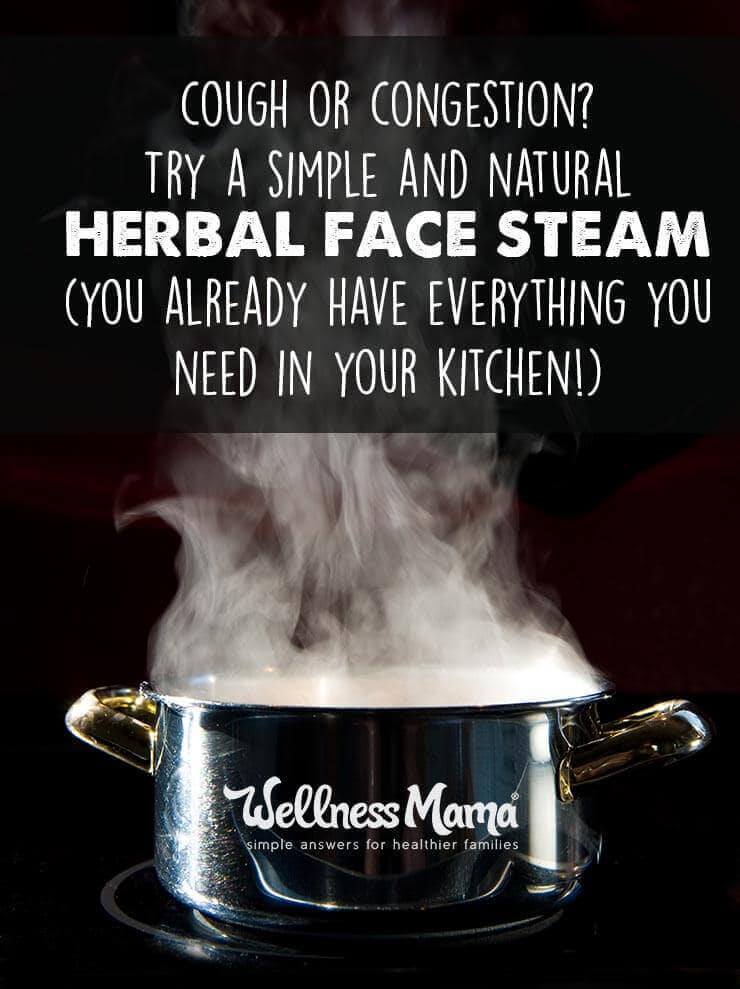

Ever had a cold or congestion and instinctively inhaled the steam from a mug of warm tea or taken a steamy shower for the benefits? Depending on what you were drinking, this could have had benefits other than just the temporary relief the steam provided, and this technique is a great one to keep in mind if cough or congestion strikes this year.
Benefits of an Herbal Face Steam
Besides the soothing warmth of steam on the face during illness, there are two additional benefits worth noting, especially when you add herbs to the mix:
Skin Benefits:
Steam is often used in spas as part of a facial treatment. Facial steams are touted for their ability to open pores, soften skin and improve circulation.
Combating Congestion:
I’ve used herbal steams for years for their ability to sooth coughing and congestion during illness. I often add dried herbs to the mix for additional benefits.
Inhaling steam can help loosen congestion and offer relief from coughing. If I catch a cold, I often do an herbal face steam before bed to help me sleep.
I found mentions of this type of facial steam in some of my old natural remedy and homesteading handbooks that I found at estate sales and thrift stores, and it turns out that this remedy may have been used as far back as Ancient Egypt in public bath houses and private residences.
How to Do an Herbal Face Steam
The best part about herbal face steams is that they take literally three minutes to prepare (unlike the longer process of making elderberry syrup) and are very simple to make with herbs you probably already have in your kitchen (unlike the ingredients for a more obscure remedy like dit da jow).
Herbal Face Steam Ingredients
- a large pot of some type (or a large bowl and tea kettle)
- 1 tablespoon each of desired herbs: thyme, rosemary, basil, oregano, peppermint, eucalyptus, lavender, etc
- 2 large towels
How to prepare
Put about an inch of water in the bottom of a large pot and boil. Alternately, if using a bowl, boil water in a tea kettle or pot and pour into the bowl.
Fold a towel in half and place on a sturdy, heat-proof, flat surface like a counter or table. Place the pot or bowl on top of this towel.
Add any dried herbs, stir well and cover with a lid for 1-2 minutes.
Herbal Face Steam Instructions
Remove lid and check temperature of steam to make sure it isn’t too hot for your face. Lean over the pot and cover head with a towel to create a tent, letting as little air escape as possible.
Slowly breathe in the steam for up to 10 minutes. I find it helpful to try to breathe in through my nose and out through my mouth at first and then eventually try to breathe in and out through the nose to loosen congestion. If needed, let any mucus fall into the pot (yes, I know it is gross, but the pot can be washed!).
When finished, pour out the liquid and herbs in the pot (never reuse!) and thoroughly wash the pot. For skin benefits, I also like to wipe my face with a 50/50 mix of apple cider vinegar and water after a face steam to tone skin and remove anything that has loosened from the pores.
Important Notes
Some people use essential oils for face steams. I personally don’t as essential oils can be very potent and the steam can intensify their effects. I prefer to stick to using essential oils properly in a diffuser and using dried herbs in a face steam.
Face steams are not recommended for young children (due to the potential heat of the steam) or pregnant women (due to the potential effects of the herbs) without checking with a medical professional. Of course, steam is hot and caution should be used when handling and breathing it.
Garlic can also be added to the steam mixture for additional benefit.

Ever tried a face steam to help alleviate congestion?
DIY Herbal Face Steam for Congestion originally written by Wellness Mama.
from Wellness Mama » Blog http://wellnessmama.com/61037/herbal-face-steam/?utm_source=rss&utm_medium=rss&utm_campaign=herbal-face-steam
via SEO Derby
No comments:
Post a Comment