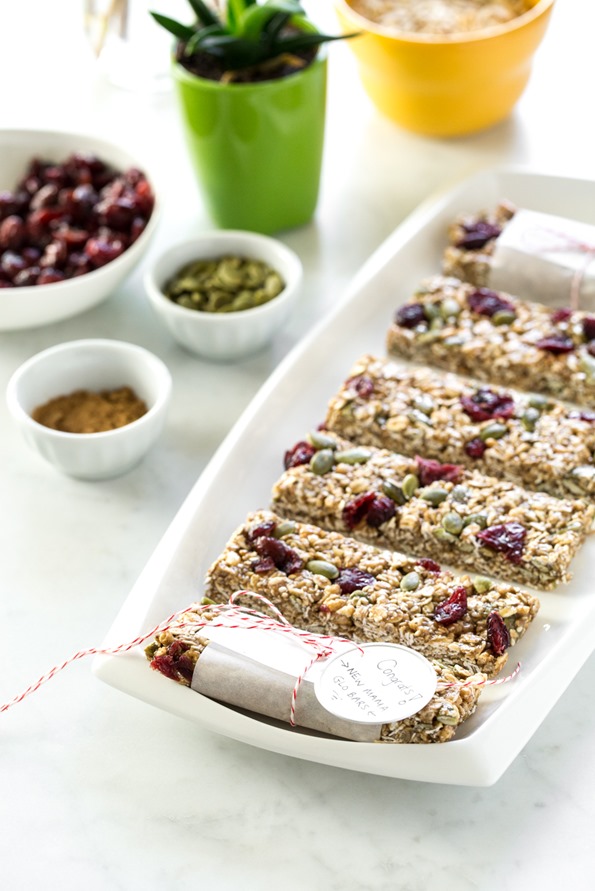
“I’ve officially polished off my ‘postpartum’ Glo Bar stash.” This is what I wrote on Snapchat early in September with a photo of me gobbling up my last lonely bar from the freezer. I had overestimated my self-control at 9 months pregnant just a tad, thinking that I could stock the freezer a month early with Glo Bars so I would have them handy to bring to the hospital and to enjoy once home. Hahaha…fool! Here is my not-so-spoiler alert: I have zero self-control when there’s a food I love in the house. Obviously. So I made another couple batches (oh darn), only this time I waited until I was ready to pop (aka…right now).
I’m really excited to share this Glo Bar recipe today because not only is it crazy delicious and a cinch to throw together, but these bars contain ingredients which are thought to help boost milk supply in breastfeeding mamas (such as oats, flax, sesame, and coconut). Don’t worry, though, anyone can enjoy these bars! In fact, Eric assures me that his cup size hasn’t increased one bit since becoming a fan himself.
Another thing I love about these Glo Bars is that they are nut-free; when I was nursing Adriana in the early days, I suspected that when I ate nuts it caused her to be fussy. This can also be true for chocolate, so I purposely left it out of this recipe as well (just in case it happens again this time too). If nuts and chocolate aren’t an issue for you though, feel free to tweak the mix-ins to your heart’s content! Another bonus of using seeds over nuts is that seeds tend to be a bit more wallet-friendly. This year, I’ve really gotten into using sunflower seeds for this very reason.
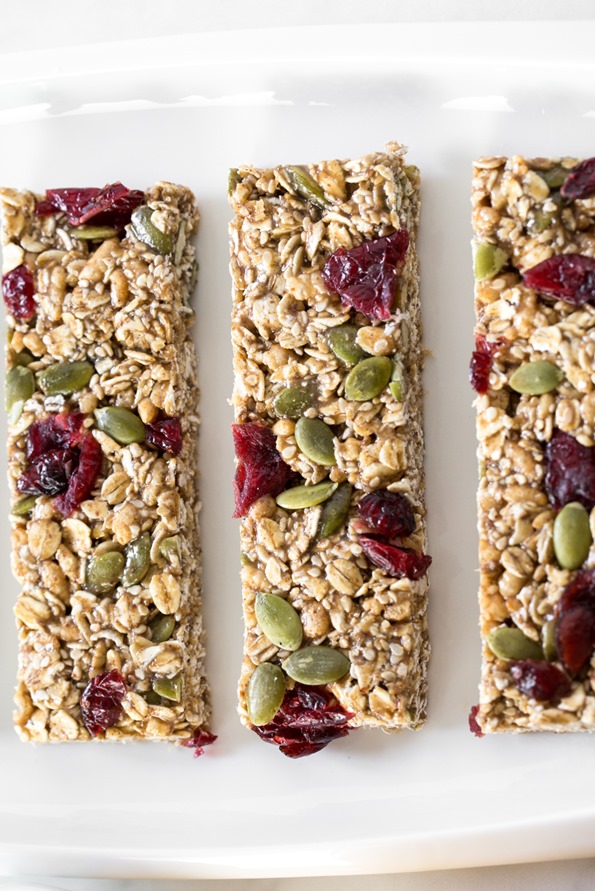
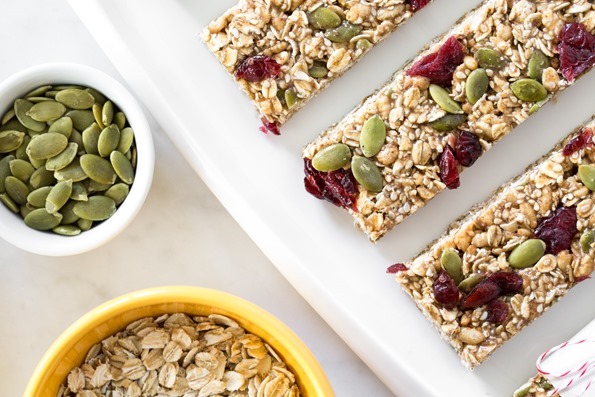
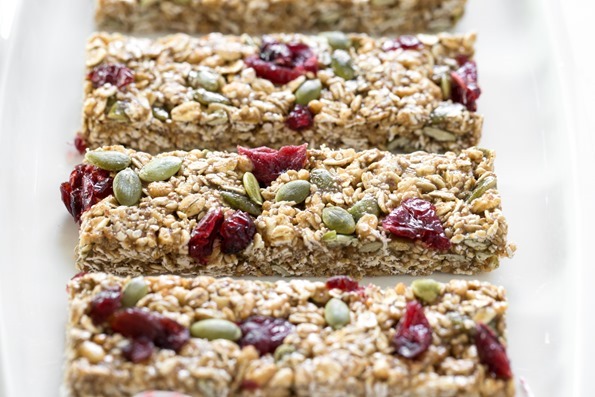
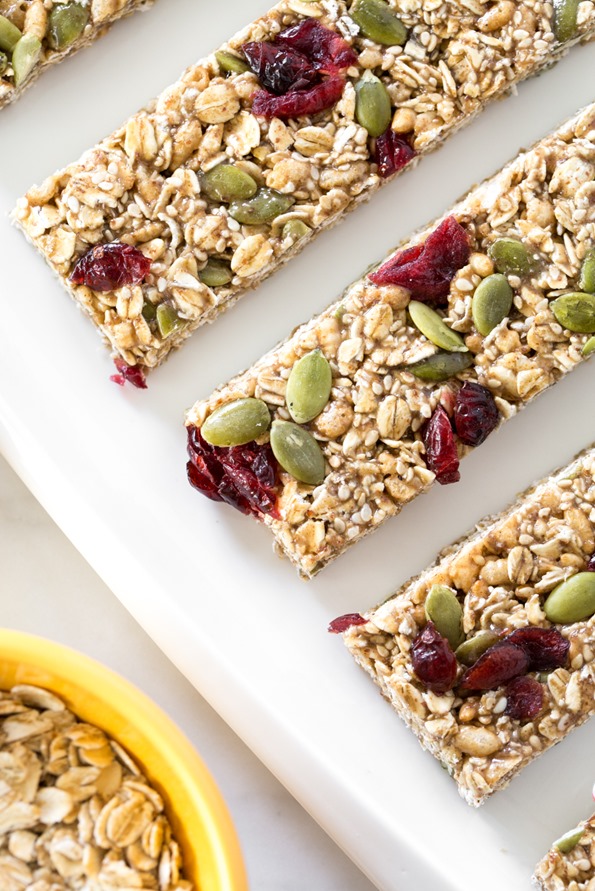
New Mama Glo Bars
Vegan, gluten-free, no bake/raw, nut-free, refined sugar-free, soy-free
I created these Glo Bars with new mamas in mind, but rest assured that they can be enjoyed by all! These nut-free Glo Bars contain oats, ground flax, sesame seeds, and coconut oil, all of which are thought to help boost milk supply in breastfeeding women. They are a great no-bake bar to store in the freezer before baby arrives, too; I love to keep a stash in my freezer so I always have some on hand. I purposely made these bars nut- and chocolate-free because, in some cases, these foods can contribute to fussy breastfed babies (of course, every baby is different—tweak as you see fit!). But it also makes them a great nut-free option for after school snacks, too!
Yield
12 bars
Freeze time
10 minutes
Prep Time
15 Minutes
Cook time
0 Minutes
Total Time
15 Minutes
Ingredients:
For the dry ingredients:
- 1 1/2 cups (150 g) gluten-free rolled oats
- 3/4 cup (25 g) gluten-free rice crisp cereal
- 1/4 cup (40 g) white sesame seeds*
- 1/4 cup (40 g) pepita seeds*
- 1/4 cup (30 g) ground flaxseed
- 1/3 cup (45 g) dried cranberries or dried cherries**
- 2 tablespoons (12 g) unsweetened dried shredded coconut
- 1/2 teaspoon cinnamon
- 1/4 teaspoon pink Himalayan salt or fine sea salt
For the wet ingredients:
- 1/2 cup (125 mL) brown rice syrup***
- 1 tablespoon (15 mL) pure maple syrup
- 1/4 cup (63 g) smooth sunflower seed butter****
- 1/2 tablespoon (7.5 mL) coconut oil
- 1 teaspoon (5 mL) pure vanilla extract
Directions:
- Line a 9-inch square pan with a piece of parchment paper. I like to leave some overhang so the bars are easy to lift out after freezing.
- In a large bowl, stir together the dry ingredients (oats, cereal, sesame seeds, pepita seeds, ground flaxseed, dried fruit, coconut, cinnamon, and salt).
- Add the brown rice syrup into a small pot over low heat. Stir in the maple syrup, sunflower seed butter, and coconut oil until combined. When the mixture is warm and runny remove from heat. Stir in the vanilla.
- Immediately pour the brown rice syrup mixture over the dry ingredients (I use a spatula to scoop every last drop!) and with a large metal spoon, stir until the oats are fully coated in the syrup mixture. This can take some elbow grease, but we don’t want any dry patches, so mix well.
- Scoop the mixture into the prepared pan and spread out evenly. I like to lightly wet my hands and use them to spread the mixture out. Grab a small pastry roller if you have one, and roll the mixture until even and smooth. Or, simply press down firmly with your hands—the more you pack down the mixture the better the bars hold together. Using your fingertips, press the mixture downward along the edges to create straight edges.
- Place the pan in the freezer, uncovered, for about 10 to 15 minutes until the bars firm up enough to slice. Remove the slab and place on a cutting board. With a pizza slicer, slice the bars into 12 equal bars.
- Wrap each bar separately in plastic wrap. Store in the fridge for up to 1 week, or freeze the wrapped bars in a freezer-safe zip bag for 4 to 6 weeks. The bars will firm up when chilled. You can let them sit at room temperature for 5–10 minutes before enjoying, if desired.
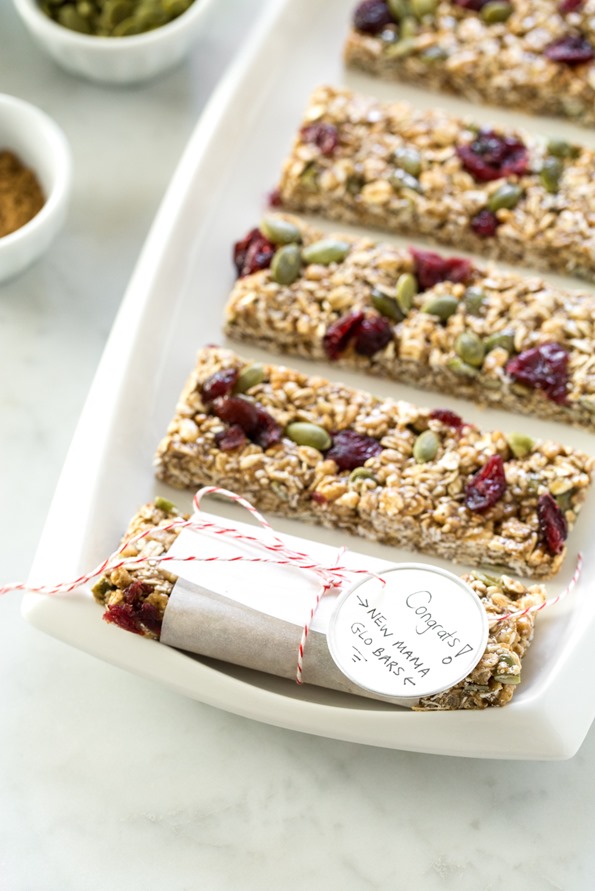
By the way, a batch or two of these bars would make a great gift for a mama-to-be!
Last but not least, I’d like to share another roundup of #osgeveryday blog tour posts. A huge thanks to these talented bloggers for all their support! Be sure to check out the links below for recipe sneak peeks, giveaways, and fun Q+A’s.
Ambitious Kitchen
Keepin’ It Kind
Hummusapien
Edible Perspective (Ash dishes on the behind the scenes of shooting the book!)
Orgali
Healthy Helper Blog
Erin’s Inside Job
The Vegan 8
Dolly and Oatmeal
Blissful Basil
Half Baked Harvest
Veggie Inspired
from Oh She Glows http://ohsheglows.com/2016/09/26/new-mama-glo-bars-lactation-friendly-nut-free/
via
Get Free Web Hosting CLICK HERE


No comments:
Post a Comment